Android 平台中,如果想对个别的cpu、io数据进行监控,需要一些强大的工具。
比如Atop。
目前atop官方并不支持Android 系统,此篇文章记录在atop在Android平台编译的心路历程。
1.获取到atop源码 以及 :ncurses 源码
这里选用了 atop 2.7.0 版本编译。
https://github.com/Atoptool/atop/releases/tag/v2.7.0
ncurses 源码:
https://invisible-island.net/archives/ncurses/ncurses-6.3.tar.gz
下载完成之后,需要先编译好 ncurses 支持宽字符版本的库。
./configure --host=aarch64-linux-android --prefix=/path/to/ncurses/install --enable-widec环境变量配置交叉编译环境:
export CC=/path/to/ndk/bin/aarch64-linux-android28-clang
export CXX=/path/to/ndk/bin/aarch64-linux-android28-clang++
export AR=/path/to/ndk/bin/llvm-ar
export LD=/path/to/ndk/bin/ld
export STRIP=/path/to/ndk/bin/llvm-strip

export CFLAGS="--sysroot=/path/to/ndk/sysroot"
export LDFLAGS="--sysroot=/path/to/ndk/sysroot"
执行make install 编译 ,输出头文件与静态连接库. 目标地址是我们配置好的。
/path/to/ncurses/install回到atop源码中,修改适配Android的编译环境
// 修改 atop.h ,支持 ushort 类型
typedef unsigned short ushort;
// 修改 ncurses的include路径
// 搜索 #include <curses.h> 替换成 #include <ncursesw/curses.h>

// Makefile 中增加ncurses链接
// 替换
CFLAGS  += -O2 -I. -Wall -Wno-stringop-truncation # -DNOPERFEVENT   # -DHTTPSTATS
//成为
CFLAGS  += -O2 -I. -Wall -Wno-stringop-truncation -DNOCURSES -I/path/to/ncurses/install/include
LDFLAGS += -L/path/to/ncurses/install/lib -lncurses

//移除rt库引入,Android平台已经自带
atop:        atop.o    $(ALLMODS) Makefile
        $(CC) atop.o $(ALLMODS) -o atop -lncursesw -lz -lm -lrt $(LDFLAGS)

//替换成
atop:        atop.o    $(ALLMODS) Makefile
        $(CC) atop.o $(ALLMODS) -o atop -lncursesw -lz -lm $(LDFLAGS)
//执行编译
make clear & make
编译 之后,atop文件就位于 根目录下了
编译好的文件:
atop.zip
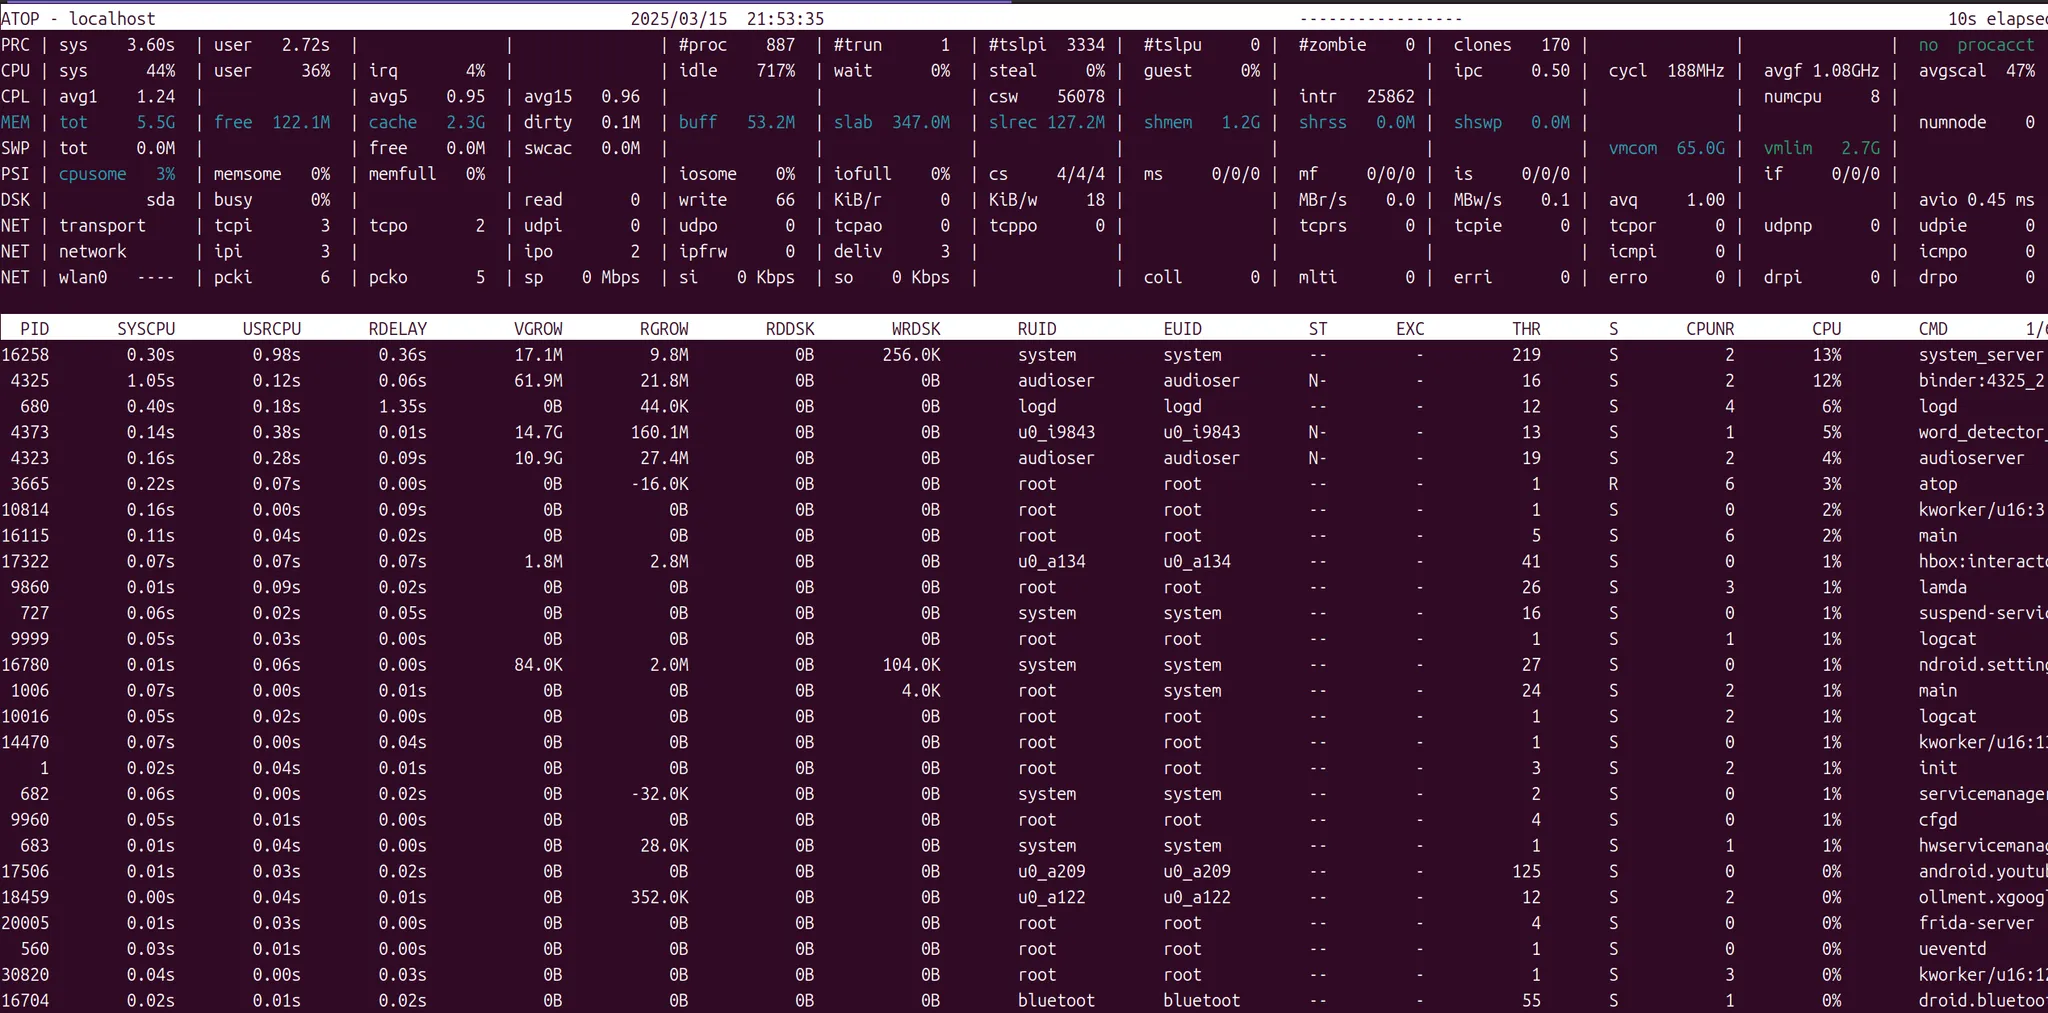
adb shell 开启 shell 之后,执行 ./atop 即可进入应用
